How long will it take my gundog bitch to get used to the whelping box?
If your gundog bitch is having puppies then you'll need to have a whelping box ready.

Q: I’ve chosen a nice quiet place for the whelping but what I’m not sure of is how much time is needed to get the dog used to the whelping box.
Should I put her in it two or three days beforehand, or longer?
A: Be guided by the bitch but two weeks or ten days is the minimum for her to get comfortable in these new surroundings, especially getting in and out of the box.
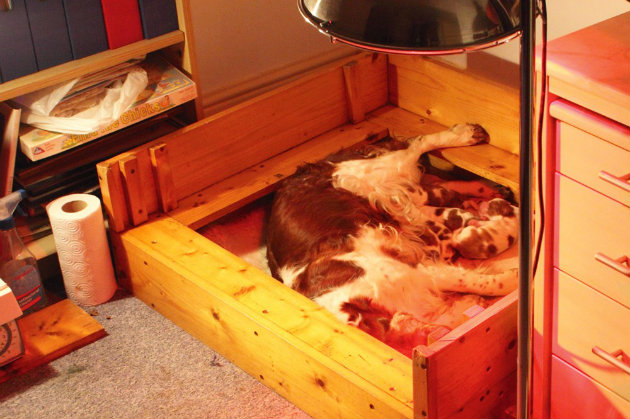
If you are using a heat lamp outside do make sure you put it up and switch it on so that the bitch gets used to it.
The very last thing you want is to put the light on when the pups arrive and spook the bitch when she sees red for the first time!
The secret is to set up her whelping area the same as it will be on the day.
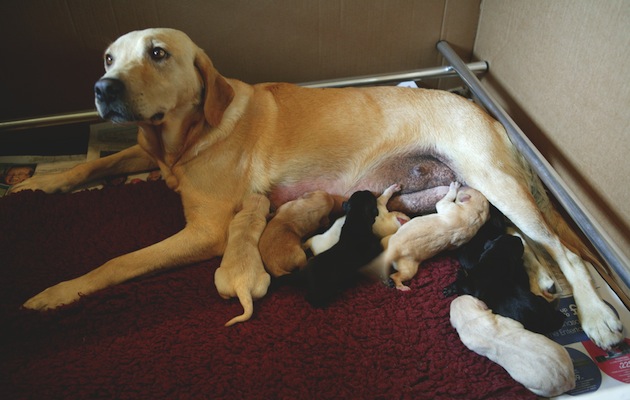
Looking after the mother with new puppies
When your bitch has whelped, it’s all too easy to become preoccupied with the puppies. The anxiety associated with an…
About whelping boxes
The whelping box is a key piece of equipment and will protect puppies during whelping and their early weeks. A properly constructed whelping box will keep the youngsters safely contained, warm and prevent them being smothered or squashed by their mother.
Whilst you can buy whelping boxes, it’s cost-effective and satisfying to build your own and here’s how. These instructions give a box with sides high enough to safely hold the puppies but allow the mother to come into the whelping box without scraping her teats.
Building a whelping box
You will need:
• One piece of 36in x 30in x 12in marine plywood
• Five 6in x 3/8in x 6ft 6in softwood planks
• Two 4in x 3/8in x 6ft 6in softwood planks
• Two 12in x 12in x 6ft 6in softwood strips
• Two 12in x 34in x 6ft 6in softwood strips
• Two hook and eyes
• Saw
• Drill and bit
• Screwdriver
• Sandpaper
• Approx. 48 brass screws
• Polyurethane varnish
• Paint brush
• Wood glue
The whelping box shown is made from pieces of 6in x 3/8in timber, measures 36in x 30in and is 12in high. The base is made of marine plywood, cut to size, and the corners are reinforced with strips of 1/2in x 1/2in square wood. All joints are screwed and glued, then sealed with polyurethane.
1.  Start by cutting out the base. Use good quality marine plywood. Glue and screw pieces of 1⁄2in x 3⁄4in strip around the edges as seen in the image in step 3; this creates an insulating air gap under the floor of the box. Use brass screws throughout, which won’t rust.
2.  Cut and assemble pieces of timber to form the sides and back, with a single piece to form the front as shown in Figure 1. Use square strip for the corner supports to which you can screw and glue the panels. Further strips are attached to the inside of the back and sides, level with the top of the front panel; these will support the ledge inside the box as shown in Figure 2.
3.  Cut suitable lengths of 4in x 3/8in timber to form the sides and back ledges; a piece of 6in x 3/8in timber is used for the front ledge. Assemble the ledge on a flat surface. Glue together, and screw and glue two 1⁄2in x 3⁄4in strips under each side panel and to the front and back panels to provide rigidity. Set aside to dry thoroughly.
4. When the glue is dry, assemble the ledge inside the box, cutting out squares in appropriate positions so that the ledge slides neatly down past the square strips in the corners of the whelping box. 5. Complete the assembly by making the removable front panel from 6in x 3/8in timber,cut to size – this will help your pregnant bitch enter the box safely. This panel can be secured to the box using hooks attached to each side and eyes screwed into each end of the front panel.
6. Finally, give all the surfaces several coats of suitable clear polyurethane varnish. Apply sufficient coats to seal all the joints, particularly those on the inside of the box


