5 air rifle maintenance questions answered
Knowing basic air rifle maintenance is key but sometimes it's best to take your gun to a professional.

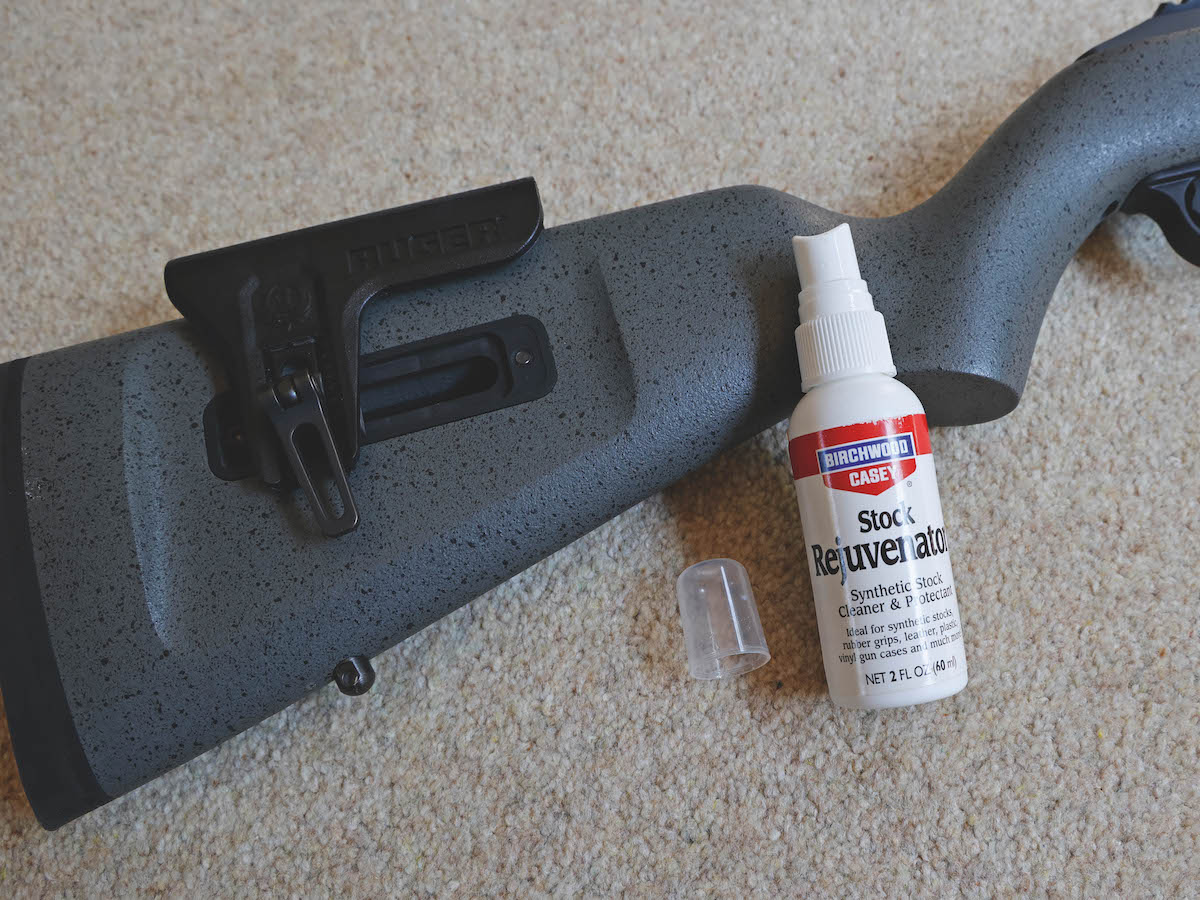
3. Water damage to an air rifle
Q: I foolishly put one of my air rifles away in its cover without drying it properly. Now it is speckled with rust and the stock is quite badly damaged by damp.
The grain of the wood has been raised and is paler in colour than the rest of the stock. How can I restore the gun?
A: The first thing to do is remove the metalwork from the stock. However, you have not stated the type and model of air rifle.
If it is a conventional spring-operated, barrel or side-lever cocking model, the stock will be fixed to the metalwork by screws through the front of the fore-end and a screw in front of the trigger-guard. Your local gunshop will advise you on how to remove the stock.
- The rust spots can be removed by using very fine steel wool and a few drops of oil.
- Any metal that is exposed can be touched up with Gun Blue Creme or another cold blue solution on a cotton bud.
- If most of the original finish has gone, you can apply Gun Blue Creme, using a small pad of fine steel wool.
- Give the metalwork a good rub down with a soft cloth and then use an oily cloth to apply a protective coating.
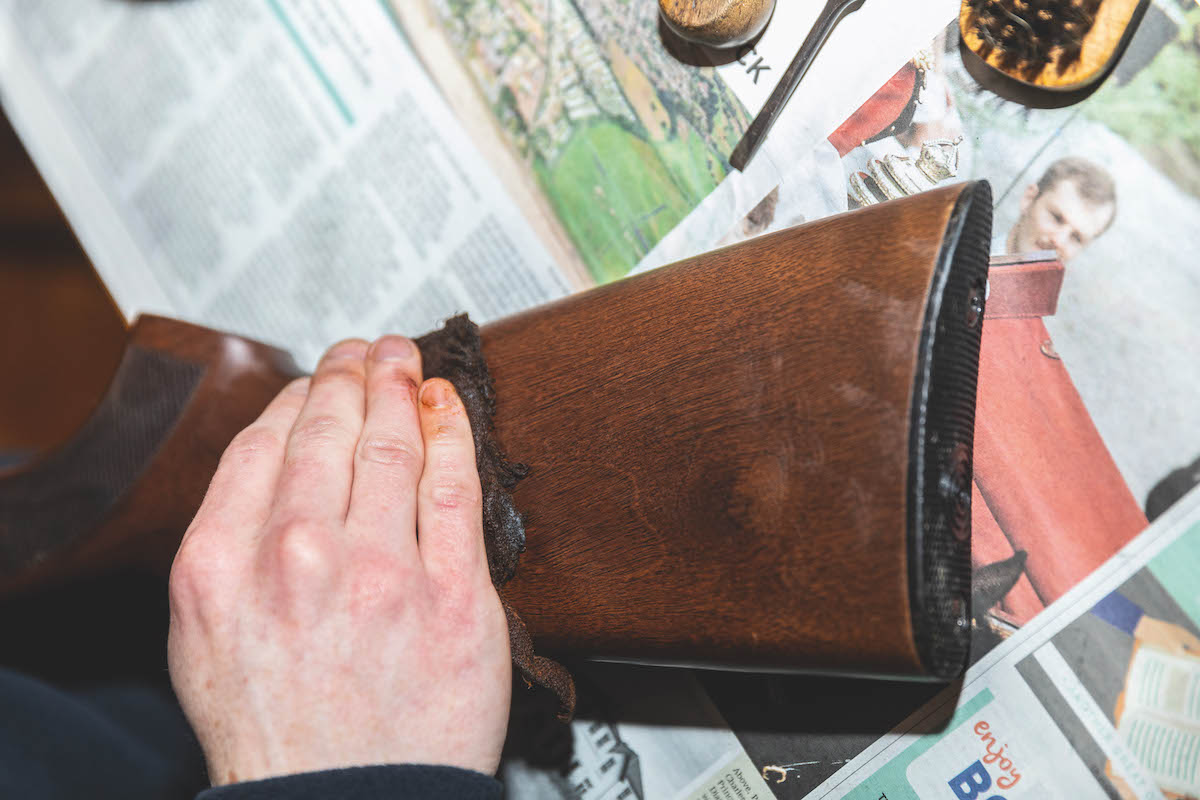
- For the woodwork, as the grain has risen in a few places, this can be rubbed down using fine abrasive paper and steel wool.
- Wet the wood and allow it to dry naturally, which will raise the grain again, and then rub the wood down as before. You can now apply a suitable stain to the treated areas and a suitable oil to the stock, such as linseed oil with a few drops of French or button polish. This should be applied several times to match the remainder of the woodwork.

Sometimes it’s better to take your air rifle to a professional for maintenance
4. Pressurising an air rifle after storage
A: If you are not prepared to let a professional repairer service your Sheridan air rifle, you will have either to purchase or borrow the three tools necessary to strip the gun.
- The rifle is easy to take apart until you get to the inlet and exhaust valve assemblies.
- You will require a square-ended tool to disassemble the valve guide nut, and a valve guide inserter to remove the exhaust valve guide.
- When you have replaced the inlet and exhaust valve and the two lead sealing gaskets on the valve guide, you will need these tools to re-assemble all these parts correctly.
- When re-assembling you must ensure that the lead seals are fully crushed to provide an airtight seal and the pump head is suitably lubricated to enable the rifle to be pumped up correctly and easily.
- Do not put more than a maximum of eight pumps into the rifle and do not store it for any length of time without putting at least three pumps into the compression tube.
- Use only top quality .20 lead pellets and the rifle should give you years of service.


