How to improve your springer airgun setup
Mike Morton takes a look at a friend’s poorly set up rifle and makes a few simple tweaks to show you how to improve your springer airgun setup

I don’t know about you, but I love a challenge, and really enjoy working on a troublesome airgun combo and making it shoot well again to show you how to improve your springer airgun setup. So I jumped at the chance to work on a friend’s recent acquisition – a little Weihrauch HW57 underlever which had been fitted with what seemed to be far too large a scope. (If you’re looking for a scope at a good price, read about our picks for two of the best scopes for under £1,000).
My friend had been shooting the rifle and didn’t like the way it had been set up (it’s always a good idea to refit a scope so it’s just right for you) and wasn’t really getting the accuracy he’d been hoping for, so asked me to take a look. (If you’re looking to improve accuracy, read more on the subject with our advice on how to zero an air rifle scope and how to improve your marksmanship).
I thought it would be interesting to share my findings with you, because while this isn’t a full step-by-step guide, the process is pretty much the same when dealing with any spring-powered rifle of this type.
(If you’re new to airgunning and don’t know which to go for, read our thoughts on springers vs PCP air rifles here).
What’s on the outside?
Whenever you buy a second-hand rifle combo, don’t assume the person who set up the scope knew what they were doing. And maybe they never even shot it this way themselves, but slapped on a spare scope they had to hand so the overall package was made more appealing to potential buyers. (Read our advice on how to buy a second hand air rifle).
In this case, the rifle itself looked to be in very good condition – at least on the outside – but there were a number of problems with the way the scope had been fitted by its previous owner.
First and foremost was the scope itself, which had a 50mm objective lens, but more importantly was overly long for this relatively small underlever. The HW57 has a pop-up loading gate and the length of the scope was making it very hard to load pellets.

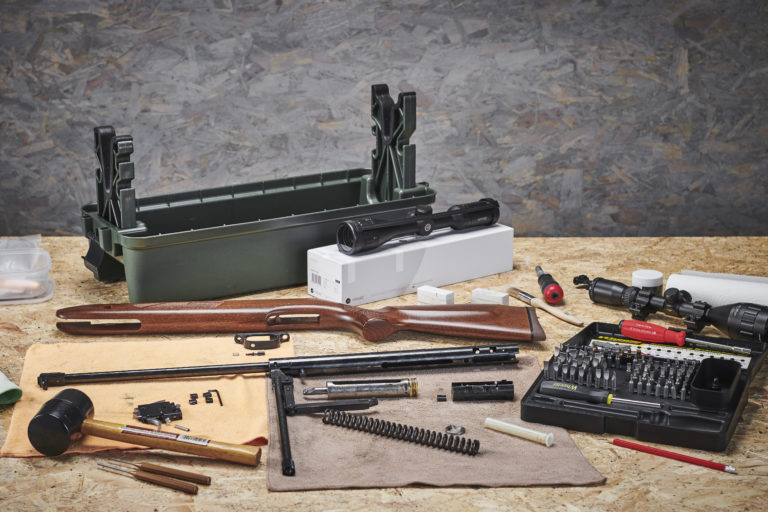
It’s a good idea to gather all the tools you’ll need before actually starting the job – doing it now will save you time in the long run
This rifle comes with iron sights, and the rear sight had been left in place with the scope mounts straddling the rear unit, severely restricting scope placement. Finally – and perhaps worst of all – an unbranded set of mounts had been used with a fixed arrestor pin.
This pin was very tall, which meant the rear mount could not sit low enough to properly engage the dovetail rail, inducing a definite downward slant to the scope and potentially bending the tube.
Luckily, these exterior problems were easy enough to fix by removing the original scope, mounts and rear sight, and then gathering some more appropriate components in the shape of a Hawke Airmax 3-9×40 scope and Sportsmatch 1” mounts, which allow the depth of the arrestor pin to be adjusted to suit any rifle. These excellent new products were set aside for now as it was time to take a peek inside.

The first thing to do was remove the telescopic sight and rear sight – the slot on the retaining screw was a bit mashed, but still came undone easily enough
What’s on the inside?
While a mismatched rifle and pellets will cause poor accuracy, so too will fluctuating muzzle velocity, so I decided to put the rifle over the chronograph. While muzzle energy was a pleasingly modest 11.1 foot pounds, there was a velocity spread of 21 feet per second over a 10-shot string with weighed pellets, indicating something was amiss. (Read more here on how to pick the right pellet for your airgun).
I decided to crack open the rifle and inspect its innards, replacing any worn or damaged components that I might find and giving everything a thorough clean and re-lube.
Old hands will be able to do this in just a few minutes, but if you’re tackling something like this for the very first time, there are some general guidelines that will help make life a lot easier.

If you own a torque driver, only use it for tightening screws, not undoing them – a regular fixed screwdriver handle like this is a better bet for this type of job
First of all, please make sure the gun you are working on is completely safe – that means no pellet in the barrel or breech, and the action uncocked.
Secondly, photograph each and every step so you have a reference point to come back to. It’s all too easy to get carried away and dive in, only to be left with a tabletop full of screws, nuts, washers and pins, and not know where any of them go when it’s time to reassemble the gun.
It’s also essential to keep small parts secure while you work on the rest of the rifle. But it can also be tricky to know what small parts to look out for in the first place!
For example there’s one tiny nut that sits inside the Rekord trigger that has caused many a headache and generated many expletives over the years. This part secures the stock via the trigger guard, but it’s all too easy for it to fall out and get lost.
Plan ahead and think about what you’re going to need before you actually need it. The strip-down process is messy, and having a set of latex gloves to hand, along with plenty of paper towels or microfibre cloths, will ensure the mess is at least contained.

You can now remove the nylon mainspring guide and mainspring, followed by the piston and piston seal – this is where things get really messy!
There’s one step I show here that may cause one or two people to throw their hands up in horror: I don’t use a spring compressor when separating the trigger housing from the main cylinder.
I hold onto the action, press down against a small pencil rubber to take up the tension in the mainspring, and then twist the cylinder to release the trigger housing. As long as you keep the action under control using both hands, this technique is simple and safe.
What was in there?
Having disassembled the rifle, it was easy to see what had been going on. The internal components were all in good shape, and while the piston seal was caked in grease – some of which had found its way to the front face and dieseled – the seal itself showed no excess wear, cuts or nicks.
I was particularly impressed by the mainspring, which appeared to be the original, the ends of which had been expertly finished at the Weihrauch factory.
Brake cleaner can be used to degrease the internal components, but keep it well away from the piston seal as well as any wooden, painted or plastic parts, and remember to wear a face mask as this chemical is very powerful.

Use a good quality moly grease to re-lube the components, but do it sparingly as the aim is to lubricate, not saturate
With no parts to replace, it was simply a case of re-lubing the internals, and when doing this it’s definitely a case of less is more: too much grease really can hinder the smooth and consistent operation of the mainspring and piston.
With this in mind I like to apply grease with a paintbrush – a couple of strokes are all that are needed to apply a nice, thin and even layer across the surface of the metal parts, taking care to keep the face of the piston seal perfectly clean.
One potential problem area during reassembly is fitting the Rekord trigger and punching the retaining pins back in place. Remember to insert the safety catch and spring first, and to cock the trigger before putting it back in the action.
When you insert the trigger into the trigger housing, take care to line up the holes where you need to reinsert the pins. Even if everything is properly aligned, the pins can be stubborn and may not feel as if they want to go in.
Tapping each pin using a slight upward stroke usually solves this problem. Before going any further with your rifle reassembly, gently squeeze the trigger blade to decock the trigger.
How does it shoot now?
With the strip-down process reversed and the rifle back together again, it was time to check my work. Muzzle energy had not changed at all, but the velocity spread was now down from 21 feet per second to just nine, which was a great result for minimal effort.

This smaller Hawke scope is a much better choice for this particular rifle as it helps balance the gun and doesn’t interfere with the loading bay
Having established the rifle was still very much under the 12 foot pound legal limit, I was able to fit the new Hawke scope and Sportsmatch mounts. If you’re doing this for someone else, it’s always good to have that person present while doing so.
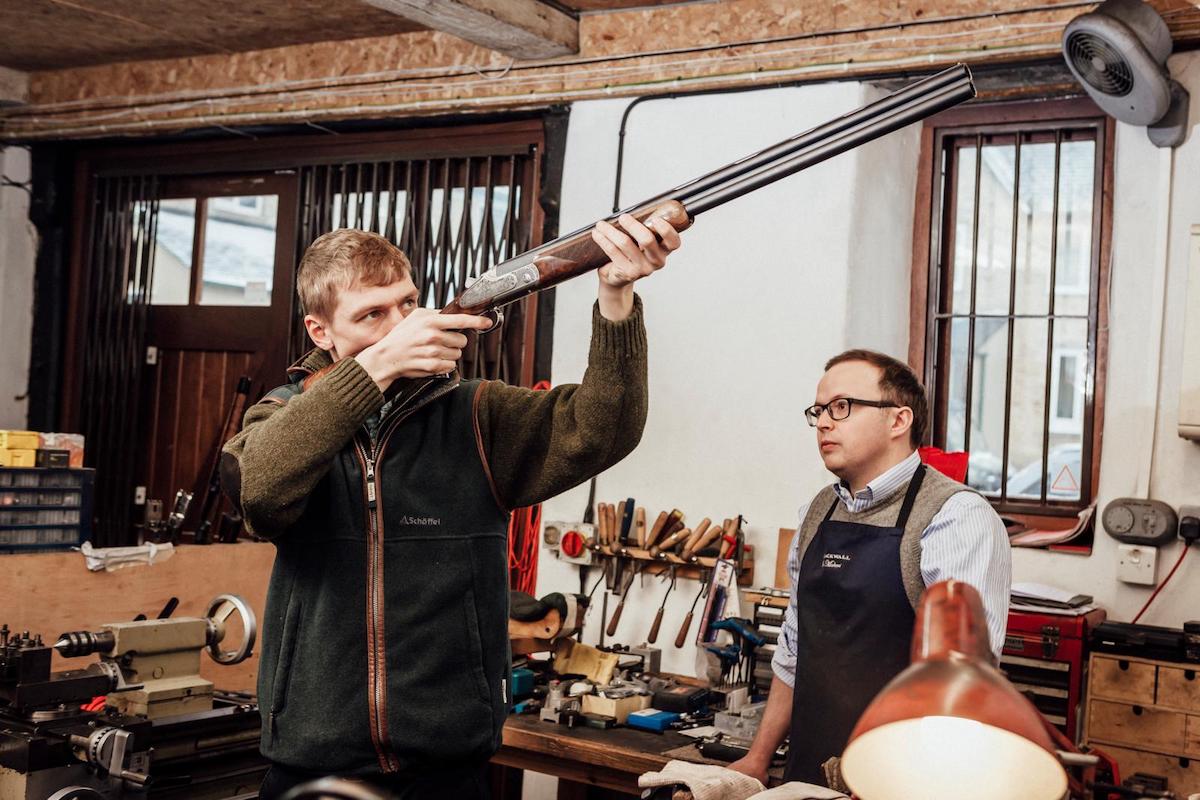
A scope is a bit like a fine item of clothing – it should be tailored so it fits the shooter perfectly. Eye relief and the ocular focus ring should be adjusted to suit the shooter, not the person fitting the scope.
The rifle’s owner is very happy with the end result. He now has a rifle that’s better balanced, is easier to load, feels nice and smooth to shoot, and delivers tighter groups. Let’s head to the air rifle range!


