A day on the River Cottage game cookery course
I may not have spotted the famous Hugh Fearnley-Whittingstall but I did get a superb insight into choosing, preparing and cooking game that will stand me in good stead for years to come

What a view. The Devon and Dorset border spread out before me on the first chilly day of the winter as I waited on top of a hill with my fellow River Cottage students.
We’d parked up and were waiting for a tractor and trailer to take us down the hill to the famous River Cottage cookery school. Our group split into those of us taking the game cookery course and those attending something completely different, a cake cookery course. (We were in the midst of the Great British Bake off at the time, so baking was very on trend).
As we bumped down the hill in the trailer I got chatting to the girl sitting next to me. She had been given the game cookery course as a birthday gift by her boyfriend. A gamekeeper.
I’d watched the River Cottage TV series avidly so the view of the house as we turned around the corner was very familiar to me.
The promise was of a “hands-on day of wild meat” hunting out “the secrets of truly winning game dishes“. I was looking forward to learning more about prepping game and more importantly, having the time to watch, learn and do it properly. Whilst I love cooking at home, making meals for a family can be routine and rushed.
Sharply professional
Right from the start, this struck me as a very professionally run operation. We were shown into a wonderful barn-style kitchen, equipped with separate work stations, each with its own fridge, gas hob and plenty of preparation area with knives, utentils and an apron ready laid out.

Chris started by showing us how to skin and prepare rabbit
Our teacher, an experienced game chef called Chris. talked us through our day whilst we had a reviving cup of coffee and delicious breakfast canapés hot from the River Cottage kitchens.
Starting with basics, Chris showed us the different knives in our knife roll and what each was for. Successful butchery relies on good sharp knives, so we were shown how to sharpen a knife correctly (make a 15-20% angle with the steel), what to look for when buying a knife and what you’ll need in your knife arsenal.
River Cottage has a policy of sourcing locally – and the same applied to Chris’s knife, which was made for him by a local blacksmith.
First take your rabbit
Chris picked up a freshly killed rabbit. He explained that rabbits are gutted as soon as they are caught or shot so the meat doesn’t taint. It’s also important to lay freshly shot rabbits out to cool – they shouldn’t be piled up in the back of a trailer or the boot of a Land Rover as they will remain warm and attract flies.
We also learned how to look at a rabbit and pick out which would be best for eating. It’s easy to tell the age of an unskinned rabbit – “smooth, sharp claws and soft ears indicate youth and roastability”. What about myxomatosis? If a rabbit has it, the symptoms are very obvious visibly – swollen, cloudy eyes – so sufferers are easily spotted and rejected.

Learning how to make delicious stock
What about hanging time for a rabbit? How soon after it is shot should you butcher and cook it? Chris advised that young rabbits are tender, so one to two days is plenty of time to tenderise it – the same applies to any small game – pheasants and partridges. It doesn’t need long. Gone are the days of hanging a pheasant until the head drops off. We looked inside the rabbit’s abdomen at the offal – which is a good way of checking the meat quality.
Chris then showed us how to skin and joint a rabbit. And then instructed us to pick up our own from the side and do it ourselves.
I was a complete beginner but to my surprise (and thanks to his clear instructions and the sharp knives) I made quite a clean and quick job of it and was swiftly jointing the rabbit ready for cooking.

Rabbit needs cooking with fat so lardons are the perfect accompaniment
Rabbit is a healthy, lean meat and so needs plenty of extra fat so it doesn’t dry out. I soon had some legs browning on the hob in a mixture of butter and oil, which culminated in a delicious rabbit dish finished with cream and mustard. The other pieces of meat, including the liver, were placed in the fridge, ready to form part of a rabbit and partridge terrine – another lesson (and you will find the recipe below).

A little later on, with herbs and a cream sauce
Next up the pheasant
To be honest, this is the part of the day that will probably prove the most useful to me and so I watched intently. We were shown how to gut and pluck a pheasant and also how to ‘unzip’ it rather than plucking to just use the pheasant breast rather than butchering the whole bird. You decide. I know what I will be doing most often. However obviously both methods are important for the game cook to know.
In winter when pheasant is in season, it should be considered as a delicious alternative to chicken. So using the pheasant breast meat we were shown how to fillet it to create pheasant Kievs, making our own seasoned breadcrumbs. (You’ll find the River Cottage recipe below.)

My very own pheasant kiev
The trick here is to have one wet and one dry hand, so you get breadcrumbs and egg on the meat rather than all over yourself. Again I realised how important it is to have a sharp knife to get a good result – my newly sharpened filleting knife cut through the meat neatly giving a clean and professional edge. In fact I became obsessional about sharpening my knives at the start of every new recipe. (And when I got back home I sharpened all my own kitchen knives.)
We learned how to check the age of a pheasant before you decide how to cook it. Young birds are good roasted and older birds are better braised and casseroled. A bit like the rabbit, look at their claws (and their beaks) which will be soft and pliable in younger birds and more raggedy in older ones.

In the shade of a cold December day
Not forgetting partridges
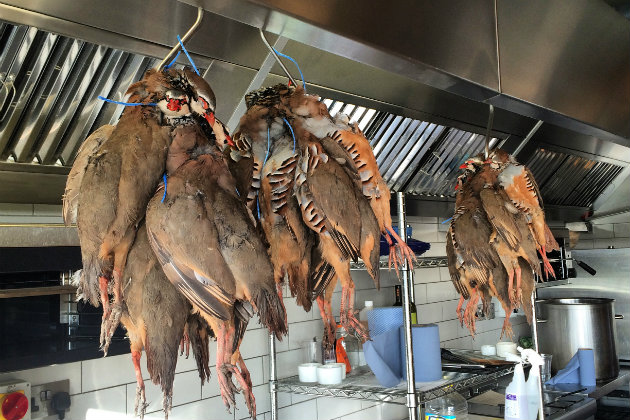
Hanging up outside in the cool shade were a brace of red-legged, or French partridges. Chris showed us how to gut them and pluck them – they should be plucked at the earliest opportunity because the longer you leave them the harder it becomes. And if you want to tell the bird’s age, follow the same technique as with a pheasant, looking at the beak and the claws. Chris butchered the partridges and then cut the meat into strips before browning in a frying pan.
Game Terrine
I can see that this is going to be a game standby for me and it’s something of a dish to show off with, looking very decorative but relatively easy to prepare. Of course it is also delicious. The River Cottage recipe is below and I recommend you give it a try. We used the rabbit livers and meat from the rabbit we’d prepared earlier, along with some more pheasant meat and the partridge breasts.

Being instructed how to layer a game terrine
Lunch break
Then a short break for lunch, where we enjoyed eating the rabbit dish that had been simmering away on the stove – simply and perfectly prepared with herbs, mustard and cream.
To be honest, I needed to take stock of the morning and think about what I’d been learning. This is a very full-on course. There’s a lot to take in but everything is well-explained and Chris was around to help any of us who had run into any trouble during the plucking, skinning and butchering taking place during the morning.

The view at lunch break
Smoking venison
For much of what remained of the afternoon, Chris showed us how to butcher a haunch of venison and the various ways of cooking it.

Butchering a haunch of venison
One technique I found interesting which would be worth a try is hot smoking the meat. A hot smoker isn’t too difficult to make. You can smoke meat with a simple lidded tin with a rack inside (which could even be chicken wire) and place it over a pile of sawdust (oak is preferable, do not use sawdust from a resinous tree like pine) to which you can add spices like fennel seeds, dried chillies, cloves and allspice berries. You then need a heat source to put the tin on and you’re ready to hot smoke. There are more instructions on this in the River Cottage Handbook ‘ Curing and Smoking’.

Venison steaks ready for the smoker on a bed of oak sawdust
Game Bags
At the end of the course we were handed our recipes, our terrines and made our way outside into the frosty night where we waited beside a roaring brazier for the tractor-drawn trailer to take us back up the hill.
Oh, and the girl who’d been gifted the course by her gamekeeping boyfriend said she hadn’t been sure about it all to start with, but was now itching to show off her new-found culinary skills. That’s one happy boyfriend in the making.

Learning and working in the kitchen at River Cottage
In summary
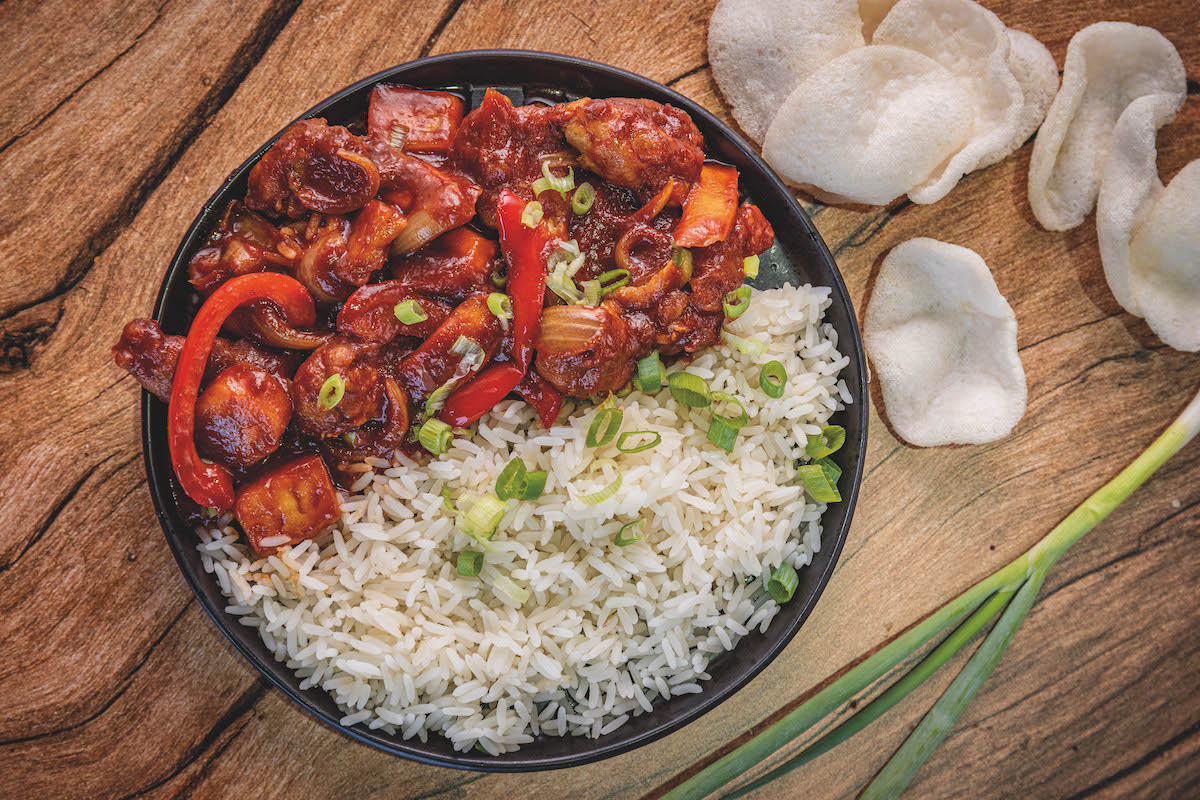
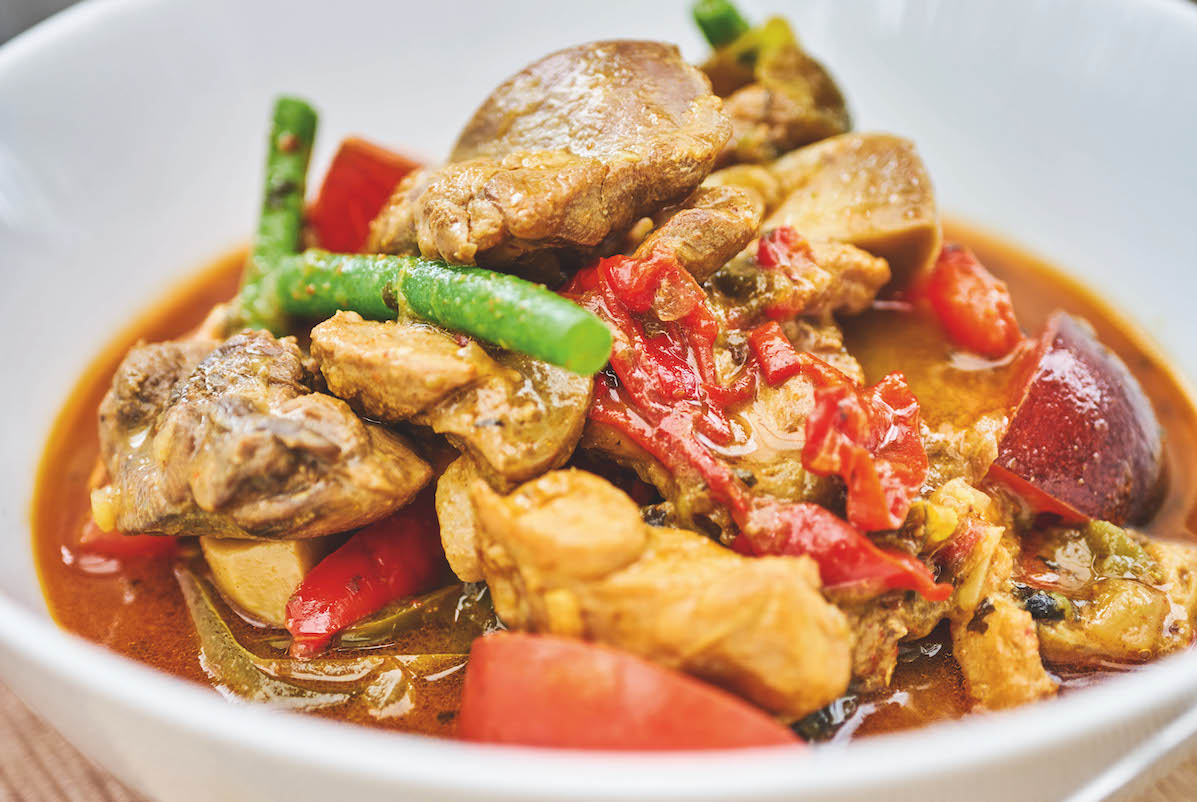
This is an excellent course for the game shooter who wants to have the knowledge and confidence to learn how to cook what has been shot. It’s also worthwhile for people who want to update their game cookery skills as many of the recipes we learned have a modern slant – rabbit burgers, duck curry, game Bolognese.
If you’re new to shooting I’d highly recommend it. Chris explained butchery in clear detail and I have a much better understanding of the different cuts of meat involved and what they can be used for. Although the game you shoot may be limited to pheasant and partridge, learning the skills to prepare a variety of game will always stand you in good stead.
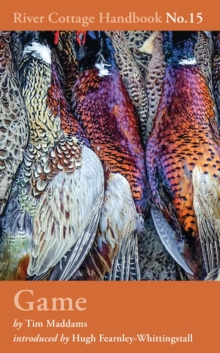
I left with a copy of the recent River Cottage Handbook ‘Game’ by Tim Maddams which I have been browsing through and would certainly recommend.
For more information visit River Cottage
Two of the recipes I followed
Game Terrine by River Cottage
These days terrines seem to be regarded as something for professional chefs in restaurant kitchens. In fact they are an old-fashioned staple of the farmhouse kitchen and not nearly as difficult as people think. I find them immensely satisfying to make, and to eat.
The way I see it, making a terrine is like building a wall: it’s a matter of bricks and mortar. The mortar is a forcemeat, in this case made from pork, breadcrumbs and the livers of the game; the bricks are whole pieces of game fillets from the leg and breast. When cut the finished terrine has a lovely marbled cross-section. It is delicious served with Cumberland sauce or home-made chutney.
Serves 10
A selection of lean game meat, about 1kg in all, which could include: Pheasant breasts (hung about 5 days)
Pigeon breasts
Duck or other wild fowl breasts
Saddle and hindquarters of 1 rabbit, boned Saddle and hindquarters of hare, boned Lean strips of venison (from the leg or fillet)
Plus:
Oil or fat for frying
300g streaky bacon to line the dish
For the forcemeat:
500g sausage meat
Livers from all the game (if they’re not available, use about 175g chicken livers), finely chopped 2 handfuls of fresh white breadcrumbs
1 egg
3 tablespoons finely chopped parsley leaves from a few sprigs of thyme, chopped
5-6 juniper berries, crushed in a pestle and mortar
2 garlic cloves, finely chopped
A splash of red wine
A splash of brandy
Salt and freshly ground black pepper
First of all make the “mortar” that will hold the “bricks” of the terrine together. In a large mixing bowl, combine the sausage meat and the chopped livers. Next add the breadcrumbs, egg, parsley, thyme, juniper berries and garlic. Add the wine and brandy, season with salt and pepper and mix everything together thoroughly, preferably with your hands.
Cut the game meat into strips of roughly the same size, about 2 fingers thick. Heat some oil or fat in a heavy-based frying pan and fry the game pieces, in batches, for about 2 minutes, until nicely browned.
Remove the rind from the bacon and run the back of a knife along each rasher to stretch it. Line a 1kg loaf tin or ceramic terrine dish with the stretched rashers of bacon, overlapping them slightly and leaving the ends hanging over the edges of the dish. Arrange a layer of forcemeat in the terrine, followed by a layer of game meat, then another layer of forcemeat followed by another layer of game meat, seasoning with salt and pepper between each layer. If you like, you can put the same kind of meat in each layer – i.e. a layer of rabbit, then pigeon and then pheasant. However many layers you make (I usually go for 3), be sure to finish with a layer of the forcemeat.
Fold the exposed strips of bacon over the top of the terrine and cover tightly with kitchen foil. If your terrine dish has a lid on it, so much the better. Place the terrine dish in a roasting tin half filled with hot water and cook in the oven at 170¡C/Gas Mark 3 for approximately 1 1⁄2 -2 hours. Test with a skewer to see if it is cooked – if the skewer does not come out of the terrine piping hot, then it is not ready.
For the best possible texture and easy slicing, your terrine should be pressed as it cools. Find a piece of wood or plastic that fits snugly inside the terrine dish and weight it down with a brick or two. (Another similar-size dish or loaf tin with a brick inside often does the trick, but wrap it in cling film if you’re using a tin.) Leave the terrine until completely cold – for several hours or overnight.
To serve the terrine, slice it thickly with a very sharp knife and put it on serving plates with a small salad of lightly dressed green leaves and a blob of good fruit chutney. Bring toast to the table.
Pheasant Kievs with rosemary
Serves 4
100ml milk
2 tbsp plain flour
salt and freshly ground pepper
1 egg, beaten
150g dried white breadcrumbs
5g minced rosemary (combine with the breadcrumbs) 4 skinless pheasant breasts, with fillets
sunflower or groundnut oil & butter for frying
For the garlic butter
100g unsalted butter, softened
4 cloves garlic, peeled and crushed
1 heaped tbsp finely chopped parsley
1 tsp lemon juice
salt and freshly ground pepper
Begin by making the garlic butter. Mix all the ingredients together really well, then form into a neat pat and chill or freeze until hard.
When you’re ready to assemble the kievs, put the milk in a shallow dish, season the flour and put on a plate, put the beaten egg in another dish, and finally put the breadcrumbs on a plate.
With a very sharp knife, carefully slit each chicken breast along one side, down almost the whole length, parallel to the grain of the meat, to a depth of about 4cm. Give the thick part of the breast a few firm bashes with a rolling pin to flatten and spread it a little. This helps reduce the cooking time. Slice the hard garlic butter into four pieces and put one inside each pheasant breast – cutting the butter to fit the hole if necessary. Use the fillets to close up the breasts.
Carefully dip each stuffed breast in flour, then the egg & milk & finally, give it a good coating of rosemary breadcrumbs. If you have time, chill the kievs for half an hour, then repeat the egg and breadcrumb coating to give a double layer. This makes it particularly hard for any garlic butter to escape, and gives you an extra crisp finish.
The breasts need to be fried fairly gently if they are to cook through before the breadcrumbs burn. Fry the kievs, turning occasionally and very carefully, for 12 minutes at least – 15 if you can get away with it – until golden brown. Drain on kitchen paper and serve immediately.


