Shooting Times & Country
In 1882, the roguish wildfowler, Lew Clement, established Shooting Times and we’ve gone to press every week since.
SubscribeThe UK’s leading voice in shooting news
Welcome to Shooting Times and Country, your premier destination for all things field sports and rural life. Immerse yourself in the rich traditions of British countryside pursuits, from game shooting and deer stalking to gundog training and conservation.
Our expert-led articles, in-depth gear reviews and timely seasonal advice cater to both seasoned shooters and newcomers alike. Whether you’re seeking the latest updates on legislation, the latest gear on the market, or insights into wildlife management, Shooting Times and Country is your trusted companion in the field and beyond.
Join our passionate community and experience the thrill of the hunt, the beauty of nature and the camaraderie of country living.


February 5th 2025
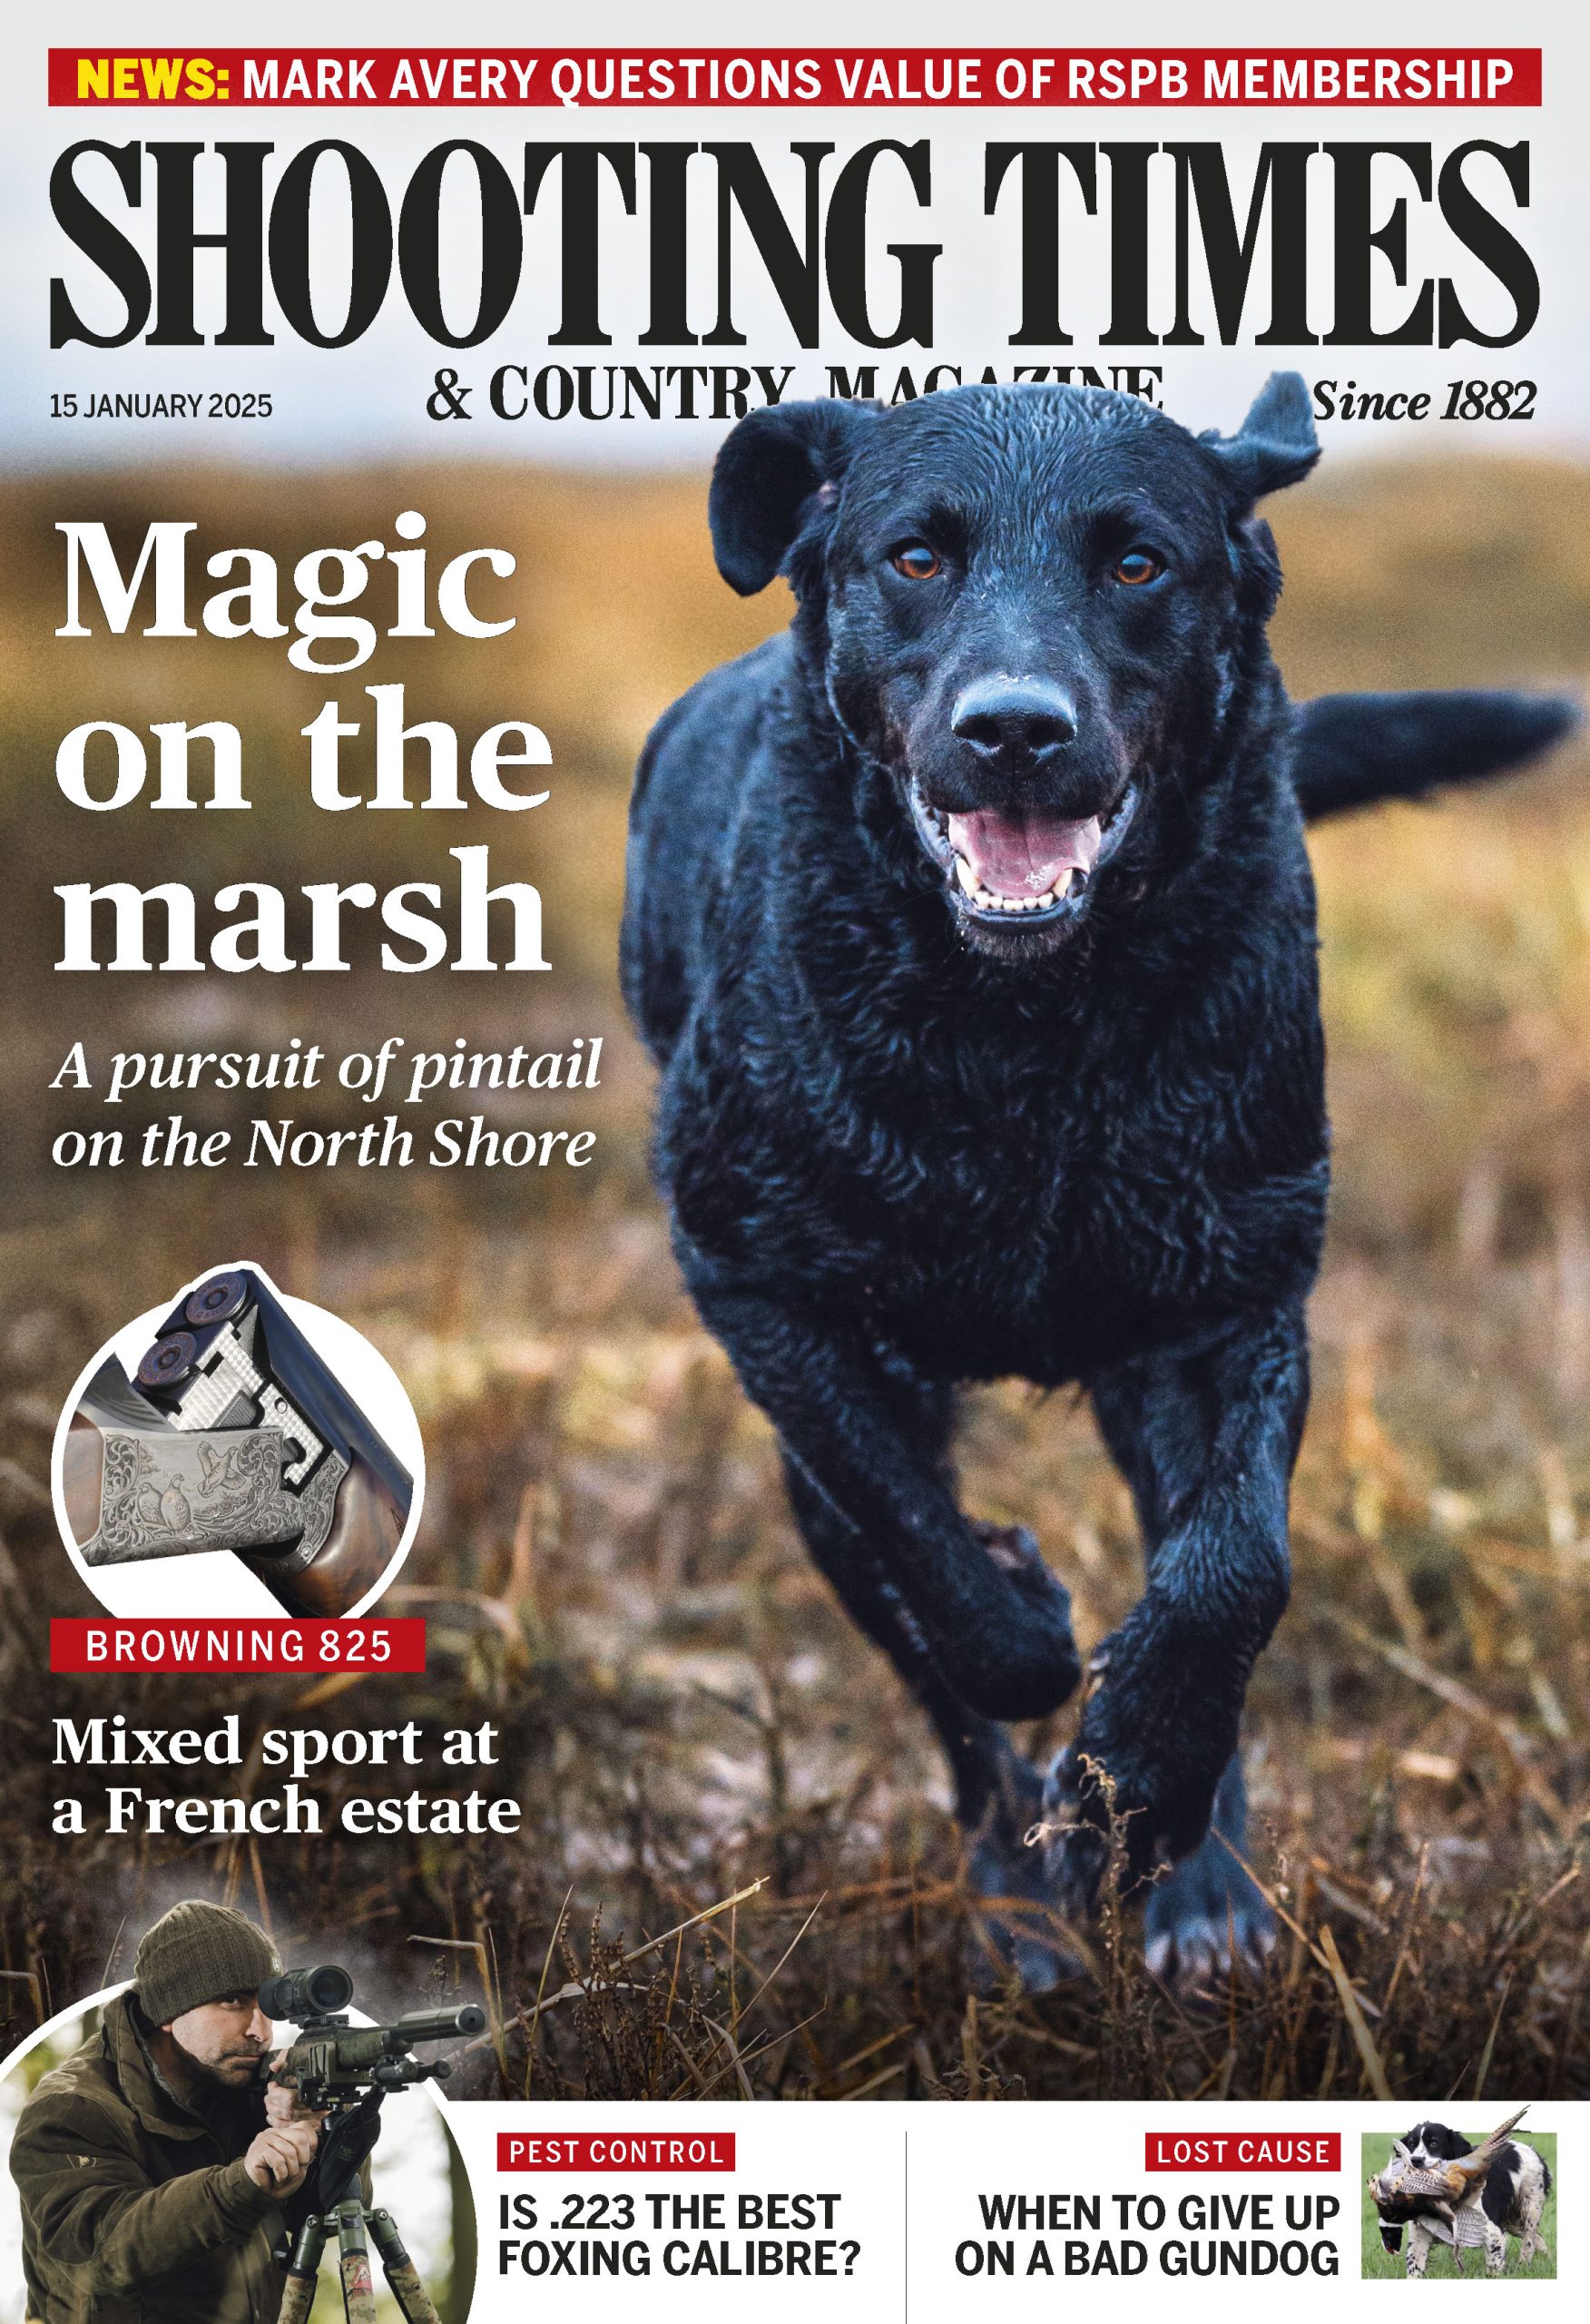
Get the latest issue
Discover why the latest issue of Shooting Times & Country Magazine is a must-have for every shooting enthusiast. As the UK’s leading weekly shooting publication since 1882, it offers unmatched coverage of all shooting disciplines, including game shooting, rough shooting, pigeon shooting, wildfowling and deer stalking.
Packed with expert advice on gundog training, equipment reviews and stunning photography, each issue keeps you informed on the latest news and trends in the shooting world. Whether you’re seeking practical tips to improve your skills or in-depth features like “estate to plate” venison preparation, this magazine is your trusted companion for countryside pursuits.
SubscribeGet the latest news delivered direct to your door
Subscribe to Shooting Times & Country
Discover the ultimate companion for field sports enthusiasts with Shooting Times & Country Magazine, the UK’s leading weekly publication that has been at the forefront of shooting culture since 1882. Subscribers gain access to expert tips, comprehensive gear reviews, seasonal advice, and a vibrant community of like-minded shooters.
With weekly issues featuring in-depth articles on gundog training, exclusive member offers, and £2 million public liability insurance, a Shooting Times & Country subscription is more than a magazine – it’s your essential guide to the rich traditions and thrilling world of field sports. Don’t just read about the countryside; immerse yourself in its most authoritative and engaging publication.

Manage Consent
To provide the best experiences, we use technologies like cookies to store and/or access device information. Consenting to these technologies will allow us to process data such as browsing behavior or unique IDs on this site. Not consenting or withdrawing consent, may adversely affect certain features and functions.
Functional Always active
The technical storage or access is strictly necessary for the legitimate purpose of enabling the use of a specific service explicitly requested by the subscriber or user, or for the sole purpose of carrying out the transmission of a communication over an electronic communications network.
Preferences
The technical storage or access is necessary for the legitimate purpose of storing preferences that are not requested by the subscriber or user.
Statistics
The technical storage or access that is used exclusively for statistical purposes.
The technical storage or access that is used exclusively for anonymous statistical purposes. Without a subpoena, voluntary compliance on the part of your Internet Service Provider, or additional records from a third party, information stored or retrieved for this purpose alone cannot usually be used to identify you.
Marketing
The technical storage or access is required to create user profiles to send advertising, or to track the user on a website or across several websites for similar marketing purposes.

