How to shoot high pheasants
The secret to shooting high pheasants consistently is learning to read birds on the wing, says Tom Payne

How to shoot high pheasants
There aren’t many shortcuts in this game — shooting high pheasants takes practice. The only way to become really good at taking on those tall birds is to spend hours standing underneath them. That said, there are a few tricks of the trade that will set you on the path of being able to hold your own on the sort of screamers that, when shot, are remembered for years. The most crucial thing is being able to read what a bird is actually doing.
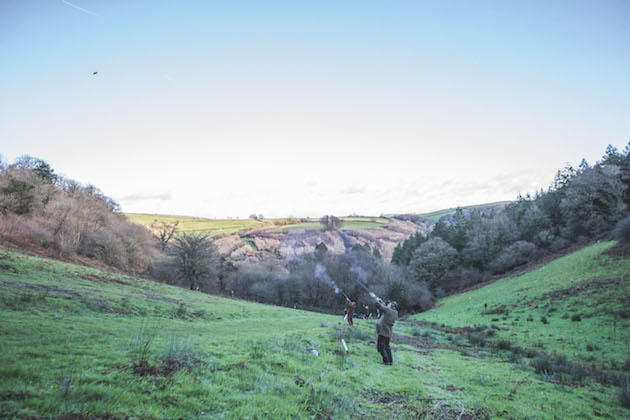
When you get one of those invitations that places you under birds nipping over hedges, curling over belts of trees or gently flushing out of game cover, all seems to be right with the world. However, the goalposts change when all three aforementioned are at the top of mountains, big hills, rolling deep coombes and valleys and you are the Gun standing at the bottom — or even simply when a keeper knows how to use the wind to show testing pheasants. The odds in such situations favour our quarry.
The ‘40-yard limit’ was a term coined by experts back in the day as the maximum effective killing distance of a 12-bore loaded with an ounce of No 6 shot. Forty yards, back then, was a high bird.
However, modern guns, tight chokes and a huge improvement in the quality of cartridges have enabled competent Shots to kill much higher birds. Not stupidly high but certainly to kill pheasants consistently at 50 yards. Whatever anyone says, you start to stray into golden pellet territory at 60 yards.
Mental preparation
Don’t go into the day feeling negative about the prospects of being outdone by high, sliding pheasants. No one will go through the day with a clean sheet on tall birds so let the averages and ratios go to the back of your mind. I don’t like missing but I’m fully aware of the challenge in front of me when it comes to high birds. Take the pressure away, be realistic and relax.
Fieldcraft
If you cannot read a drive, weather conditions and a bird on the wing then you will struggle, which is where fieldcraft comes in. It’s not easy to do and, with high pheasants, it becomes doubly difficult to master.
Once those wings are locked, the birds can slide left or right using their tails furiously like rudders. Pheasants can even start to lose altitude in many cases at varying speeds depending on the drive and topography in front and behind. You can find yourself being turned upside down, going round in circles desperately trying to work out what a bird is doing or even, in some cases, which bird is yours.
Taking your time and really watching the bird and its behaviour are important but it helps if you have a rough idea of what the bird may do. For example, a pheasant coming off a high wooded bank on a gentle crosswind heading to a lower bank behind you will more often than not slide on the wind and inevitably come down at you and with some speed.
Find your zone
Take your time and think when you’re on the peg. Working out your zones and determining where you feel comfortable killing birds makes a huge difference in terms of being able to focus and concentrate. This is also essential for safety. It’s easy for your mind to wander during a drive. Really watch the bird. You wouldn’t believe the difference it can make, especially in reading behaviour on the wing and for gauging the distance or height of the birds.
Shooting technique
Once you’ve taken all this into account, you have given yourself every chance to shoot to the best of your ability. From a technical point of view, here are the main things to focus on.
Footwork
Your stance is the building block to any successful shot and will allow you to mount the gun correctly and move your body smoothly. If your footwork is wrong it starts a chain of events that makes shooting extremely difficult. High pheasants are killed at steeper angles to a standard Home Counties pheasant, for example. In order to get maximum movement and cope with tight angles, you have to get your feet right. Again, it comes back to reading the bird on the wing, knowing where and at what angle that bird will cross your killing zone so you can set yourself up for the shot early. Moving and mounting late will only cause poor gun mount and result in your pulling the muzzles off the line of the bird.
Line and lead
Line is always my first priority. Get the line wrong and it won’t matter what lead you give a bird. Simply thinking “that bird is a long way up” and chucking your gun out to stupid gaps is merely guesswork. You might bump into one or two but you won’t have a clue how you’ve done it.
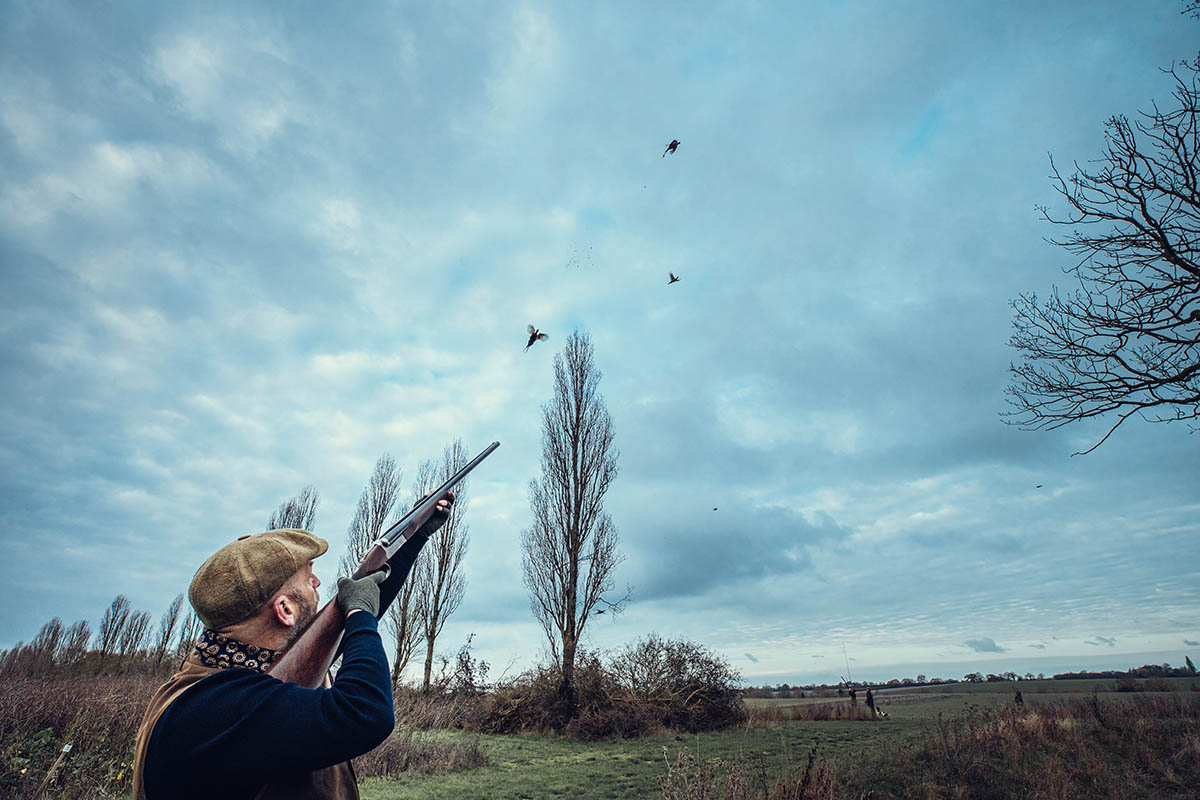
Address the bird properly, muzzles held relative to the height of the bird just on or under the line. Drive your gun into the back of the bird smoothly, move your muzzles through the bird and let your eyes focus on the front vitals of the bird.
As you gently accelerate through the bird, you will read in a split second three things: speed, distance and direction. With smooth gun speed, you will come through the bird, making the shot when it feels comfortable. Make sure you watch the pheasant fold in the air. If you don’t watch your bird die, you will check your swing and stop.
Another little tip to improve movement and smooth gun speed on higher driven birds is simply to bring your front hand slightly further back on the fore-end. This can maximise body movement and help with accelerating a smooth swing.
For longer crossers, a slightly longer hand on the fore-end can help to aid your body and gun movement in staying on line.
All these tips are so important but it is even more important that you put the practice in. Trying to get to grips with any challenging quarry on the day can be a waste of time, as well as being demoralising.
You don’t have to shoot really high towers for practice; in many cases, when working on style and technique with a reputable game shooting instructor, a normal tower will help you hone your skills and develop correct style and technique and give you confidence.


