Grouse shooting clay practice: get your eye in before you go out on the moors
Heading onto the grouse moors? Have a practice on some clay targets first with these tips from Mark Russell of Grimsthorpe Shooting Ground

Why grouse shooting clay practice is key to success
If you’re lucky enough to be heading out onto the grouse moors this coming season then it’s well worth taking some trips to the clay ground beforehand. Unlike other clays that emulate game birds grouse are easily simulated on the clay range. It’s easy to replicate the predictable way the birds are presented to Guns in real life. Some grouse shooting clay practice now will stand you in good stead. (Read our guide to walked-up grouse shooting.)
Gordon Robinson of the Royal Berkshire Shooting School commented: “Be aware that clays will tend to be a bit higher than driven grouse, and I would encourage trying to shoot the clays a lot quicker if you intend on going grouse shooting. It can be very instinctive shooting. I would also advise practising with different clothing – what you wear on a hot day in August will not be the same as on a cold day in November for example.” (Read what to wear grouse shooting.)
There are three basics that you need to consider when shooting low birds and these are:
- Your stance
- Your ready position
- How you’re actually going to shoot, (the style)

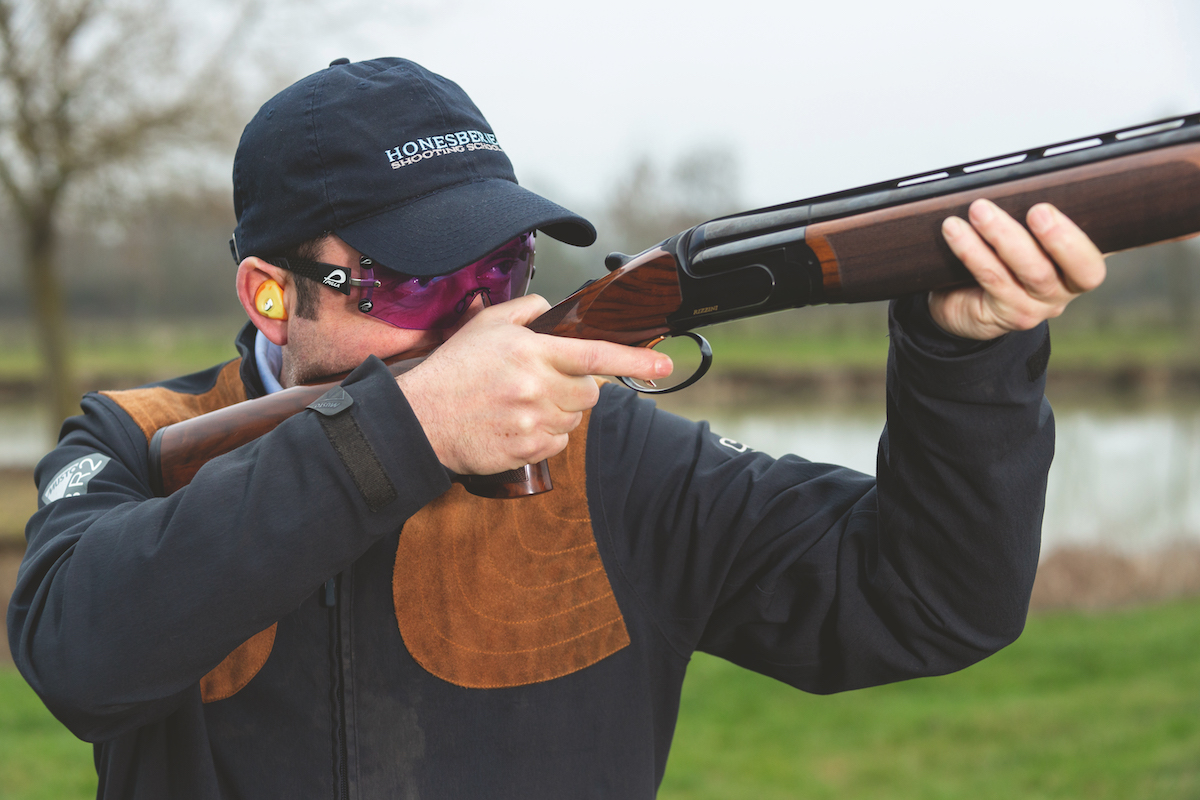
Like most targets, low birds obviously need a degree of forward allowance, but your initial stance is considerably different from shooting birds that are high up in the air.
- The important thing to remember is to keep your weight on the front foot and lean slightly forward from the waist.
- By doing this you’ll find that your head stays firmly on the stock when you mount the gun.
- If you’re standing too upright you’ll inevitably end up missing the clay by shooting high.
- Your ready stance must also be slightly different from what you normally do.
- Make sure you keep the muzzles of the gun down low. You’ve watched the flightline of the target so make sure that you’re on, or maybe slightly below the line of the clay’s flight before you call for the bird.
- Obviously it’s still important to achieve a good parallel gun mount.
- If you don’t do both these things you’ll find that you’re snatching down onto the target and you’ll probably end up playing catch-up with the clay.
The style of shooting you adopt for low birds, be it swing through, pull away or maintained lead depends upon the target itself, so let’s have a quick look at some typical birds you might encounter and see what works best for grouse shooting clay practice.
Crossers/quartering
These are probably the easiest of all the low birds to get to grips with as they’re taken pretty much the same as you would a high bird.

I know people that actually say they’re easier. Because the clay is travelling quite close to the ground its speed and line are easier to assess, so all you’ve got to do is judge the amount of lead necessary, swing through and fire.
A typical mistake when shooting this type of target is to shoot high and miss over the top, so keep the line of the muzzles just below the line of the bird.
Also be aware that the flightline might deviate as the clay loses momentum at the end of its travel. As such, you’ll have to allow for this before shooting if you take the bird late.
Going away
A sneaky way to present a low target is to offer it simply as a straight or quartering going away bird.
If you don’t get flustered and rush the shot it shouldn’t pose too many problems, especially if you’ve got your stance and gun ready position sorted.

This is mainly due to the fact that the bird will be in full view from the moment you visually pick it up until the time you see it break before your eyes.
- Choose your kill point carefully as a lot of shooters miss simply because they’ve allowed the bird to get too far away.
- Remember to focus on the bird and not the barrels – whatever you do, don’t aim! In exactly the same way as you do for the crosser, keep the muzzles on or just below the line of the bird during your swing.
- Swing through or pull ahead shooting styles are preferred because if you shoot maintained lead with this type of bird your muzzles will obscure the clay as soon as you mount the gun.
- The fact that you can’t see the target is generally a bit of a problem, so why make things difficult for yourself?
Incomers
Nine times out of ten it’s the low incomer – the bird that is actually flying towards you at below head height -that causes more misses than any other low target.

Generally speaking this is probably because the typical shooter is trying to use the ‘swing through’ method.
- In this scenario the muzzles at the pick-up point will have to be positioned behind the clay before you start the swing through the clay.
- Obviously, though, the barrels will completely obscure the bird, and will do so until the swing is complete, the clay is back in view and the trigger is pulled.
- And this in turn means that for the majority of the swing you have no idea whatsoever exactly where the bird is with respect to the muzzles.
- A common tendency at this point is to lift your head off of the stock to try and peer around the barrels to see the target – with the inevitable miss as a result.
- I reckon the best way to smash this type of bird is to utilise the ‘maintained lead’ method of shooting.
- By keeping the muzzles of the gun permanently ahead of the target, from the moment you call for the bird until after you’ve pulled the trigger, the clay is always in sight.
- It’s imperative that you keep the gun moving smoothly on its downward path, though.
- Remembering to keep your weight on the front foot and bending from the waist will help achieve this. It’s also important to choose a kill point that’s a sensible distance away.
- Because the clay is coming straight towards you think the closer it gets the easier it will be to hit and this lends itself to a (purely psychological) tendency to slow or even stop the swing of the gun completely, resulting in a miss behind.
- Keep the muzzles ahead of the bird and try to blast it about 20 yards out.
Try this
Whenever anyone is dry mounting and practising their swing at home, the tendency is to always pretend they’re shooting high birds – there’s no reason why – but everyone does it.
But there’s no reason you can’t do the same for low targets. Instead of following the line where a wall meets the ceiling, simply mount the gun and trace along the line of the skirting board.
Remember to swing from both left to right and from right to left.
Practicing like this might seem a little unnatural at first, but hone your technique and your hit rate will certainly improve when faced with the real thing.
Read more grouse shooting tips here.
This piece was originally published in Sporting Gun in 2014 and has been updated.


