Video: How to make a crow rag decoy
What you need to make a crow rag decoy:
- Stapler
- Scissors
- Small cable ties
- Bamboo cane
- Household bin bags
Watch the video above for a step-by-step guide to making a crow rag decoy.
Why use crow rag decoys?
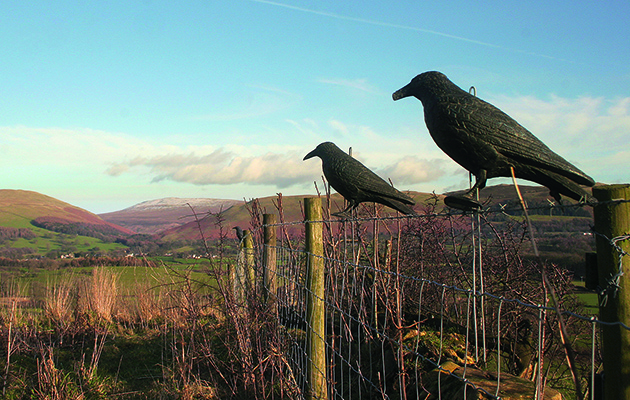
Using crow rag decoys is a great way of producing more sport without spending a lot of money. The general idea behind any rag decoy is that it is a piece of material tied to a cane in a shape that will catch the wind (like a wind sock) thus inflating it and creating the illusion of movement. An added advantage is that they are very lightweight and easy to carry great numbers in the field.
Some people may say that crows are too intelligent to fall for what can only be described as a bag on a stick, but my goose rags have pulled plenty of geese in range and I would also consider them to be a wise quarry. The trick to this illusion is numbers, the theory being that if I made enough rags the crows would find it difficult to pick out the individual decoys and would look at the whole picture of a large decoy pattern.
My main goal was to source cheap materials that kept the cost well within any shooter’s budget. After a rummage in the workshop, I found myself looking at a table consisting of bin bags, bamboo canes, cable ties, scissors and a paper stapler. In the matter of a minute, and in true Blue Peter fashion, I had the first prototype made. The bin bags do give off a shine, but so do crows when the sun is on their backs.
Build your own decoys
Crow rags are very simple to make. Take a household heavy duty bin bag, making sure that it is one with a square top and not the one with the tie handles. Unravel the bag until there is a full length of a bin bag exposed and then fold it in half and cut down the fold. Once the attached half is ripped off, there will then be two squares of material, each bag will make two decoys. I found the easiest way was to cut and prepare the whole roll so I was left with a pile of bags ready to tie to the canes.
Bamboo canes come in all shapes and lengths. I cut my canes down with a hand saw so they were all around a foot in length or just a little over.
Once all the canes and bags are ready, you can assemble the decoys. Take one of the bin bag squares and fold it in half creating a triangle. Take one of the corners from the longer side and tie it to the top of a cane. Once the top is attached, open the triangle back up, place the cane inside and tie the triangle together. Then tie another knot in one of the triangle corners to create the tail. I reinforce the knots on the cane by putting cable ties round them, this should prevent the knots from slipping and the decoys coming apart. The two knots on the cane can be adjusted to allow more or less air into the decoy, which helps it keep its shape; this is also achieved by stapling the two flaps together on the bottom of the decoy which allows the air to become trapped.
Unlike my goose decoys, which need some form of wind to stay in shape, the crow rags will hold their shape no matter what the weather due to the small dimensions and the rigidness of the bags themselves, making them a lot more versatile in the field.
Field test
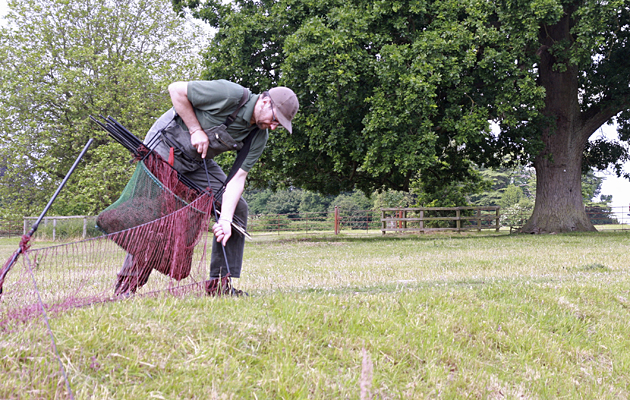
I decided to make the first batch of ten and take them for the first test. In a matter of seconds I had them set up and was surprised how well they worked. They were so successful that I had a couple of crows try to land among them as I stood against the hedge. Fairly confident that the Mk. 1 crow rag was ready to go, I made the rest of the batch up, which gave me 60 rags to play with.
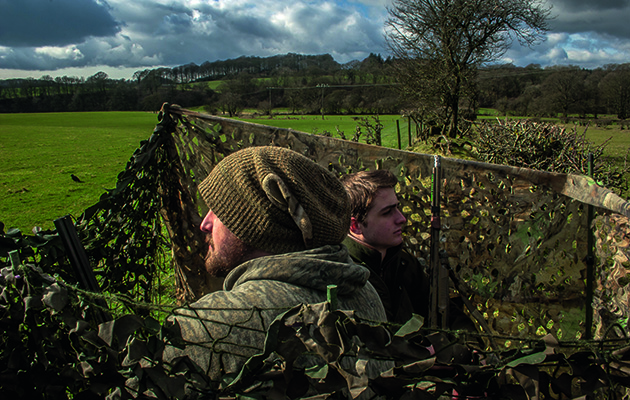
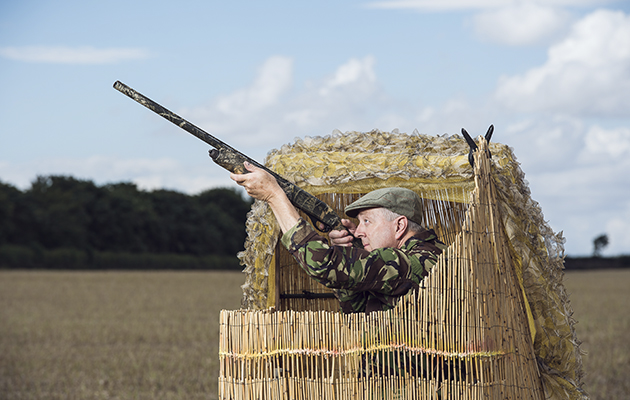
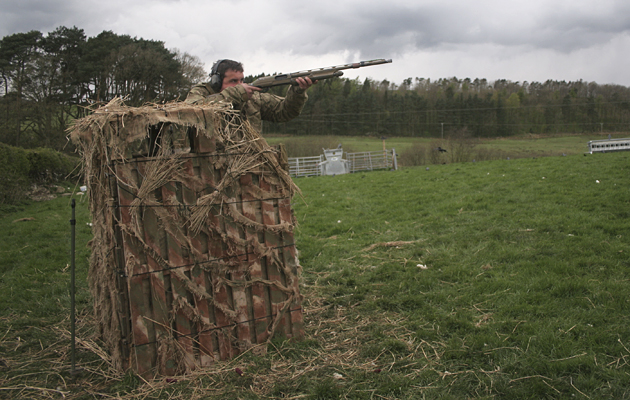
The second test came after watching a flight line of crows and wondering if I could pull them off the line to their feeding grounds and on to an unused grass field. I set up the 60 rags and my layout blind just before first light as the crows were starting to stir in the early hours of the morning. Those who have tried to pull birds off a flight line will be aware that it is no easy task especially when trying to pull them to a field with no significant value to the crows. After the first few bunches had headed down to the fields further down the valley I began to think that it was a long shot trying to pull them over, but some took interest and headed over 500 yards off the flight line and straight into the decoys.
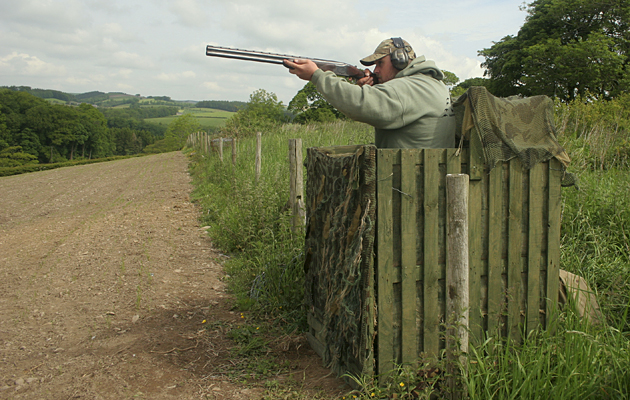
I was delighted with the success of the tests so then set up in a prime field of cut grass right where the crows wanted to be. I had an amazing morning shooting from my layout blind and couldn’t believe how many crows came in to land. I was surprised how comfortable the birds were to even begin to feed among the decoys – which I’m sure you will agree is not at all bad going for a ‘bag on a stick’.
Decoy layout
As I have never decoyed with this amount of crow decoys before, it was a case of trial and error using my goose rag experience as a template. Simply follow conventional patterns and basic decoying skill but add more decoys. Always try to funnel them into a designated kill zone where possible, which is well in the arc of fire of any shooter, be it from a hedge or a layout blind and if it’s not right then change it.
The best part is the price as they cost around £7 to make 40 when buying in all the materials (bar a stapler) which works out roughly to 17p per decoy compared with an average £5 for a full body or £200 for 40. I really can’t argue with those prices. The fabrication time will vary from person to person but it took me roughly an hour and a half to make 60 once I had perfected the method and ironed out the kinks.
I hope you give them a go and have as much if not better success then I have had. Happy shooting!

